Sunday, June 30, 2013

Summer Sunday's Series #1

Hey Everyone!

I am starting a new Sunday Series through the summer months about different things you can do/make/enjoy this summer.  There will be various random posts like baking, activities and DIY's.  I'm really excited to start this series and I hope you all like it.

Strawberry and Apple Smoothie

I don't know about you lot, but I love smoothies.  They're so delicious.  I recently came across a really simple one for a strawberry and apple smoothie and I thought it was perfect for summer days!

What you need;

  • 1 medium sized apple
  • 5 strawberries
  • A blender/smoothie maker
  • A hint of water
  • Chopping board
  • A knife

I'm using Kenwood smoothie 2GO

You want to start off by quartering your apple (cut it in a square around the core)


And you will end up with something like this,


Then cube your apple slices to make them easier to blend.


Then go ahead and add that to the blender.


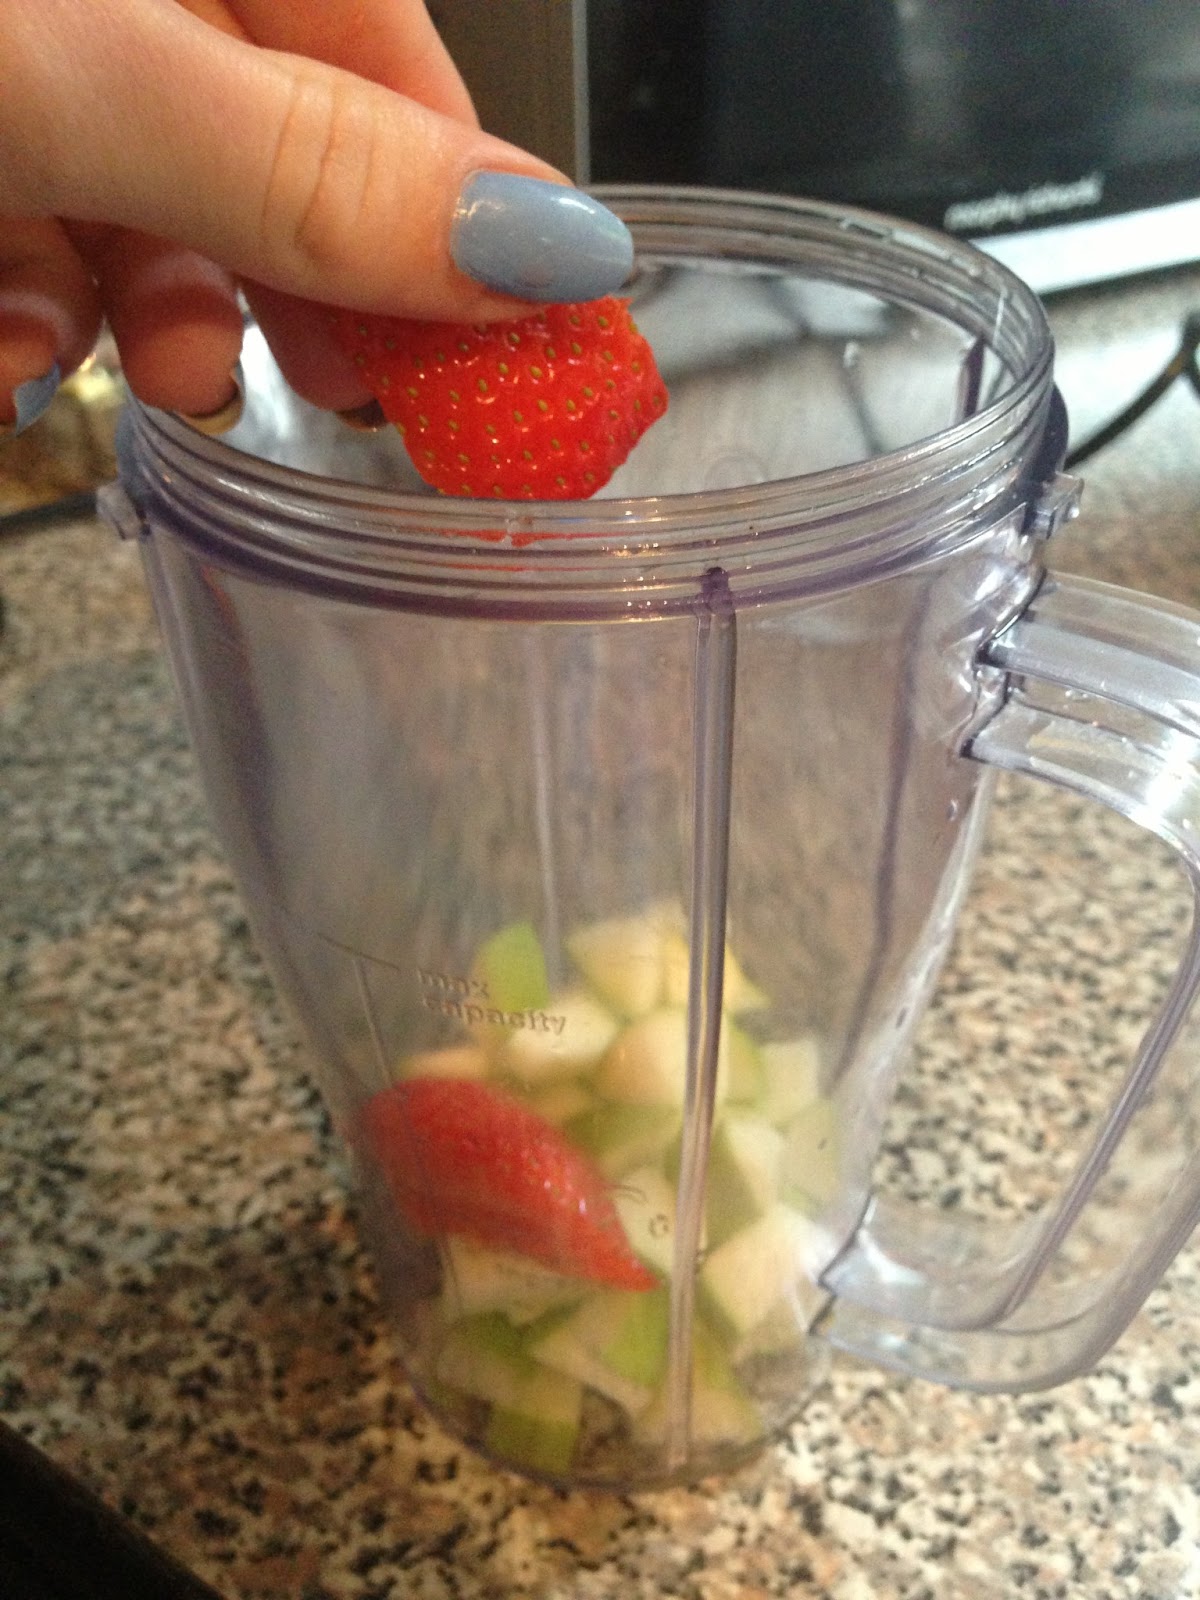
Next, cut the heads off the strawberries and quarter them too (half then half again).


Add that too your blender as well,


After that all you need to add is a splash of water because we're trying to keep as much nutrients as possible.  For a hot day add some ice to make the smoothie nice and refreshing.


Then get blending,


After all of the fruit is blended, pour into a fancy glass.  Then for an added touch, cut a slit in the bottom of a strawberry and attach to the side of your glass.


And Bon Appetite!


I hope you enjoy your summer smoothie if you make one!  I certainly did haha!!  Thanks so much for reading and please leave any suggestions you have for my Summer Sunday's Posts!


Friday, June 28, 2013

How To Tidy Your Room (And Keep It Clean)

Hi Everyone!

We all do it.  From time to time, life just gets in the way and we slack on maintaining a clean and organised bedroom.  Just so you don't feel so bad about yours, here's a picture of mine.


But after following a few of my tips, it turned out like this and it didn't take too long either;


  1. Get some music on.  Music will help motivate you.  I've been loving the song 'I love it' by Icona Pop.  I always feel like time goes quicker as well when your listening to music.  
  2. Work in sections.  I have 5 sections of my room I typically work on (my bookcase, my desk, my bed, my wardrobe and the beanbag area).  As I'm cleaning one section, I dust it as well.  This saves coming back around all of your room for dusting when your finished tidying.  
  3. Grab a bin bag.  Not a little plastic shopping bag, I'm talking the huge black bin bags.  These come in so useful when throwing out rubbish and junk that you just don't need.  You have to be ruthless as well, otherwise you'll end up keeping so much junk for that bizarre 'sentimental value'.
  4. If there's still a lot of things you need out (on a desk or whatever), arrange them in some way that makes them look neater.  I have a lot of perfume bottles that I have sitting around and they can look a little messy sometimes, so when they are I just simply arrange them to look less cluttered, simple.
  5. I am a big fan of boxes.  Boxes can hide away any messy bits you might have and help store things neatly so they don't clutter your room.  I use all my old glossyboxes to store little bits and pieces. 
  6. Sort out your clothes.  Now I don't know about you guys, but I feel the biggest mess in my room is random clothes.  I never seem to have enough hangers/space in my wardrobes so clothes end up on the chair, on the beanbag and sometimes even on my bed.  Use all your spare hangers to hang up clothes and neatly fold the rest at the bottom of your wardrobe.  
  7. Change your bedsheets and flip your mattress.  A clean bed makes all the difference.  I absolutely adore sleeping in fresh sheets and it will just make you and your room feel so much cleaner.  Flipping your mattress is an extra but is also great for maintaining clean sheets (bedbugs back off).

Now for some before's and after's;


So if you want to maintain a clean room, simple put everything back in it's place.  I always feel so much more at peace when my room is clean and I feel like I can actually relax.  I hope you enjoyed this slightly different post and I will speak to you all shortly!


Tuesday, June 25, 2013

Nail Varnish Haul

Hey Everyone!

You've probably all heard of Fragrance Direct, but if you haven't, where are you living? Under a rock? In a cave? Fragrance Direct is a website that sells a bunch of different make up, skincare, nail varnish and other beauty related things at discounted prices.  I set the link above so you can check it out if you want to!  I got 8 nail varnishes for a total around £15 which is amazing.  I got 5 Revlon varnishes, 2 OPI and 1 Essie.

Okay so starting off with the Revlon polishes.  I've never actually tried any Revlon nail polishes before, although I've always wanted to.  Like I said above I picked 5 polishes from Revlon, and they are all stunning colours, 2 OPI's and 1 lovely Essie;


  1. The first shade I got is a gorgeous mint green in the colour 'Minted'.  It's a stunning pastel green which is often compared to Essie Mint Candy Apple.  I would say that Mint Candy Apple is slightly more blue-green mint whereas Minted is a pure green mint.  I've yet to use this polish but the consistency of the polish seems a little bit watery and I think it will need a few coats to get a nice finish.

  2. Next I purchased Blue Lagoon which is a light pastel blue with a subtle glitter effect to it.  The glitter is super fine and comes off as more of an extra shine that a glitter polish.  Again this polish seems like it will need 2-3 coats but its worth it because the colour is lovely.

  3. I also bought Make Mine Mango.  Make Mine Mango is a orange-coral which I absolutely love.  I usually stay clear of orange polishes because I'm paranoid about the colour clashing with my hair.  It sounds silly but still.  I managed to make an exception for this colour.  Yet again, the consistency is a tad watery but still bearable. 

  4. The next two Revlon polishes I purchased were both glitter polishes.  The first is Stunning which is a glitter top coat.  It is a mix of small to medium glitter so is easy to work with.  I've wore this once on my ring finger and it applied very well and looked lovely!  It was quite difficult to remove but it was nice on my nails.

  5. And the final Revlon polishes that I purchased was Popular.  Popular is a baby pink with fine and medium glitter.  It reminds me of the new Maybelline Colour Show Polka Dot Polishes, but extra girly.  I'm really excited to try this one!!

  6. The next two I'm about to blabber about are both OPI.  I have ten mini OPI's but have never actually had a full size bottle (15ml).  I bought Elephantastic which is a stunning bubblegum pink.  Pinks tend to be my go-to nail colour and this is such a lovely shade.  When I think pink, this is the type of shade that pops into my head, a true, bright, lovely pink.  

  7. I also purchased The Colour Of Minnie.  This is such a unique colour in my opinion.  When you first look at it, it looks like an ordinary red.  But if you look closely, in light, it has a pink overtone to it.  It also had extremely fine glitter to it which adds additional shine.  

  8. Finally I got Essie Bikini So Teeny.  I have been eyeing up this polish for sooo long and have just never got around to buying it, so when I seen it for £1.99 I just had to.  Bikini So Teeny is a periwinkle blue with fine glitter again to add extra shine.  The fine glitter appears to be a silver colour which really reflects beautifully in light. 


That was all the nail polishes I bought from Fragrance Direct! I'm really excited to try them all out! I hope you all enjoyed this little haul and I'll speak to you all soon!

Sunday, June 23, 2013

How Much Is My Face Worth? (TAG)

Hey Guys!

Ever wondered how much your face costs?  Well I came across this really interesting tag post the other day and I just had to give it a go!  I've never actually counted up the cost of all the make up I wear on a daily basis and I thought that it could be a real eye opener into how much I actually spend on make up.  So lets start the tallying...

Face

Okay so my everyday face products include;


ELF Mineral Infused Primer - £6.00
Max Factor CC Cream - £9.99
Rimmel Stay Matte Powder - £3.99
Maybelline Cover Stick - £4.09
Garnier Under Eye Roll On - £10.49
Benefit Hervana Blush - £23.50
Bourjois Bronzing Powder - £6.99
MAC Pearlmatte Face Powder - £21.50

So purely on my face alone we have a total of £86.55.  This can not be true.  No way.  No freaking way.  I spend £86.55 on 8 products for my face.  Insanity.


Eyes 

Benefit Smokin Eyes Kit (Use Browzings to fill in brows) - £28.50
Naked Basics Palette - £20
Avon Glimmerstick Eyeliner (Blackest Black) - £6
Rimmel Exaggerate Liquid Eyeliner - £5.29
Maybelline Define-a-Lash Mascara - £5.99
Bourjois Volume Clubbing Mascara - £7.99

My eyes add up to a total cost of £73.77.  Add that to my face total and we're sitting at £160.32


Lips

My lip products vary from day-to-day but based on today's make up I used,

Lush Lip Scrub (Bubblegum) - £5.25
MAC Lipstick in RiRi Woo - £14
Lipcote - £2.99

My lips cost me £22.24.


GRANDE TOTAL

My grande total for the price of my made up face is a whopping £182.56.


I genuinely can not believe the price of the make up on my face.  Wowza.


My £182.56 face.


I hope you all enjoyed this post and I tag the following people, and everyone else, to give this a go!


  1. Charlotte from http://littlemissclouise.blogspot.co.uk/
  2. Stacey from http://expatmake-upaddict.blogspot.co.uk/
  3. Amy from http://amyjwalters.blogspot.co.uk/
  4. Mia from http://miaalice.blogspot.co.uk/
  5. Tori from http://toribrownies.blogspot.co.uk/


Friday, June 21, 2013

Natural Beach Waves (No Heat)

Hey Everyone!

So today's post is something I've never done before...a hair tutorial!! Seen as it is summer now, I don't like to spend as much time on my hair, make up ect, I like to get outside and soak up some rays!  This hair style is basically beachy messy waves and is so easy to do it is unbelievable.  Let's go ahead and get into my favourite summer hairstyle!

So first things first, jump in the shower.  This hairstyle works best if you start from towel dried hair.  As soon as you come out the shower pat your hair dry with a towel and don't even brush through it.  So you should have something as lovely as this;


You want to combing through your hair with your fingers, if you use a brush you will take out the natural waves.


Next is the secret ingredient, Sea Salt Spray.  I'm using Awaphui by Paul Mitchell which you can find more about here.  I love this Sea Salt Spray, it gives such a nice texture to the hair and helps create those fabulous beach waves for this look. It also holds the waves really nicely all day.  I also really love the smell of this product, its so refreshing and perfect for summer days. 


So I'm just spritzing this through my hair evenly.


And scrunching my hair to help those beachy waves develop.


The final step is just waiting for your hair to dry, it is that simple.  


For an extra beachy, Hawaiiany look I like to add a flower into my hair for the ultimate summer look.  I got this flower from New Look for £3.99.


So that's it for this ultra easy, super simple hair style.  I dare you to give it a go.